 |
| A straight road through open country with the ubiquitous hill town at the end leads to a trap laid by the waiting enemy. But by moving quickly to the attack the Hasty P's mange to turn disaster into victory. |
This scenario, Ambush at Grammichele, written for the Battlefront WWII rules and played in 20 mm, is based on the first encounter of the Canadian Hasting Prince Edward Regiment with the Germans in Sicily. Pushing hard after the beach landings on the southern shore of Sicily, the Canadians were carrying the far left flank of the 8th Army in their advance north. The Germans, in an attempt to slow the enemy while establishing a firmer defensive line across the Catania plain, executed a series of blocking actions in the hill towns strung along the route of the advancing Canadians.
As the Hasty P's, supported by A Squadron of the Three Rivers Tank Regiment, approached the hill town of Grammichele they were strung out mounted on a long line of tanks and a hodgepodge of borrowed and captured transport, (having lost their own transport when the ship carrying it was sunk on the way to Sicily). This scenario begins with the advance units, the Three Rivers recce section and a platoon of the Hasty P's B Co. mounted on tanks disappearing into the town ahead, while the remainder of the force is strung out in the valley below, brought up short by a crater blocking the road. Yet undiscovered, the defenders, elements of the Hermann Goring Division, wait to spring their trap on the unsuspecting enemy below and in the town.
The intention of the scenario was to begin at the moment the trap was sprung, with the set up for the Canadians based on the historical situation, and the challenge to turn a bad situation around and if possible, block the German retreat. The German objective is to cause as much damage as possible and then retreat from the town relatively intact before their escape is cut off.
1. Approaching Grammichele
Mounted on anything that moves, the Hasty P's wait in a long column on the ditch lined Highway 124 as their lead elements stop to fill in a crater that blocks the road. The recce elements have already disappeared into the hill town ahead.

2. All Quiet …
From the town above the German rearguard wait to spring the trap.
From the town above the German rearguard wait to spring the trap.

3. Ambush!
Unable to wait any longer, the Germans open up on the Canadians that have ventured into the town. The lead scout car and Three Rivers recce carriers are quickly knocked out by an anti tank gun as the infantry bail out of the carriers and off the tank. German infantry on both sides of the street move to the attack while the Canadians run for cover.

German panzers on both sides of the Sherman move in to attack but one of them instead has to fend off a close assault by B Co. soldiers. As the German infantry quickly mop up the platoon of B Co.and recce troops the Sherman, after trading some ineffective shots with the German armour, manages to reverse out of the ambush unharmed. The three tanks then hold their position, effectively blocking each other in, with none daring to poke their nose around the corner for the double tap at close range.

5. Lead tank shelled
Meanwhile the troops and vehicles in the valley have also come under fire. A lead tank is disordered by 88 fire and the tank riders bail off into the ditch on either side of the road. An Sd.Kfz. 7/1 with a 20mm Flakvierling opens up on the enemy from an orchard near the railway station, but fortunately for the Canadians, the fire is wildly inaccurate.

6. Canadians quickly move to the attack
As the attackers take fire from the escarpment on the north side of the town, and the high ground to the south, they quickly move to the attack. The Hasty P's B and A companies dismount from their transport and move to engage the enemy on the escarpment while the Shermans, providing covering fire, try to move out of the sites of the 88 and a Pz. IV that has made itself known on the edge of Grammichele and into a dead zone at the foot of the hill. Meanwhile the carrier platoon exits the road to envelop the town to the south.

7. Flakvierling opens fire from top of escarpment
A second Sd.Kfz. 7/1 opens up from the north side of Grammichele, along with a German heavy machine gun. Easily spotted, the gun comes under fire and is quickly knocked out by the advancing tanks as it attempts to withdraw.

8. C Co. joins the attack
C Co. moves at double time up the road to pressure the Germans on their south flank. A second German Pz. IV pokes its nose out of town to engage a Three Rivers tank that is approaching from the east.

9. Sherman is brewed up
As B and A Cos. begin to scale the heights on the north edge of the town, after some wild firing the 88 finally knocks out one of the Shermans as most of the rest of the squadron move out of sight of the enemy guns.

10. 88 covering south flank
On the south side of Grammichele a second 88 opens fire on the advancing Canadians, but like his counterpart on the escarpment, fails to land any serious hits!

11. South side of Grammichele
The Vickers platoon dismounts under fire of the German 88, but manage to move safely into the town while their carriers withdraw, miraculously unscathed.

12. Carrier platoon clears south flank
Meanwhile, the carrier platoon clears the orchards and railway station of defenders on the south side of the village. The Sdk.Kfz.7/1 is quickly knocked out and an HMG nest cleared, while two carriers are lost to fire from a 75mm Lig emplaced next to the 88.
13. D Co. moves forward
From the back of the column D Co. dismounts from its transport and moves towards the battle, passing the battery of Royal Devon Yeomanry Sextons (Priest stand-ins!) and the 17 lbr. troop emplacing to engage the enemy.

14. Fire support
Disentangled form the traffic jam on the highway, the battalion mortars and supporting SPG's emplace in the fields below Grammichele to finally bring indirect fire down on the Germans dug in at the top of the escarpment. The HMG is quickly knocked out and the 88 suppressed by the Allied arty and mortars.

15. Germans begin to withdraw
As indirect fire begins to take a toll on the units on the outskirts of Grammichelle and lead Canadian elements begin to push into the town, the German commander gives the order to withdraw. The panzers pull back from the town edge, tightening the defensive ring as the German panzergrenadiers accompany them. The 88, knocking out a second Sherman, is too slow to disengage, and the first Hasty P's to reach the top of the escarpment drive it back, forcing it to limber up and withdraw under fire. It is quickly overcome by the advancing infantry and lost as its transport is knocked out.
With the battle moving into the town, the tail end of the column, the 6 lbrs. and battalion command, move up along Hwy. 124. The 17 lbr. limbers up as well, and moves forward.

16. Carrier platoon secures railway station
The carrier platoon clears the orchards and railway station and regroups to push in from the south in hopes of cutting off the German retreat. The first tanks of A Squadron enter the town, keeping the pressure on the German armour and tying up their withdrawal.

17. 75mm Lig withdraws
The last gun on the outskirts to withdraw is the German 75mm infantry gun, hand-hauled out of the built up sector back towards its transport. The lead carrier bursts into town and attacks but is driven off in close assault. The next round the transport arrives and the gun makes good its escape, following the 88 that had exited just prior to this.

18. Hasty P's sweep through town
With their commander in the lead, the Hasty P's B Co. lead the charge through town. Small arms fire from the last remaining enemy infantry tie them up at an intersection.

19. Pz. IV knocked out
Elements of A Co. trap a Pz. IV before it can safely withdraw and knock it out in close combat.

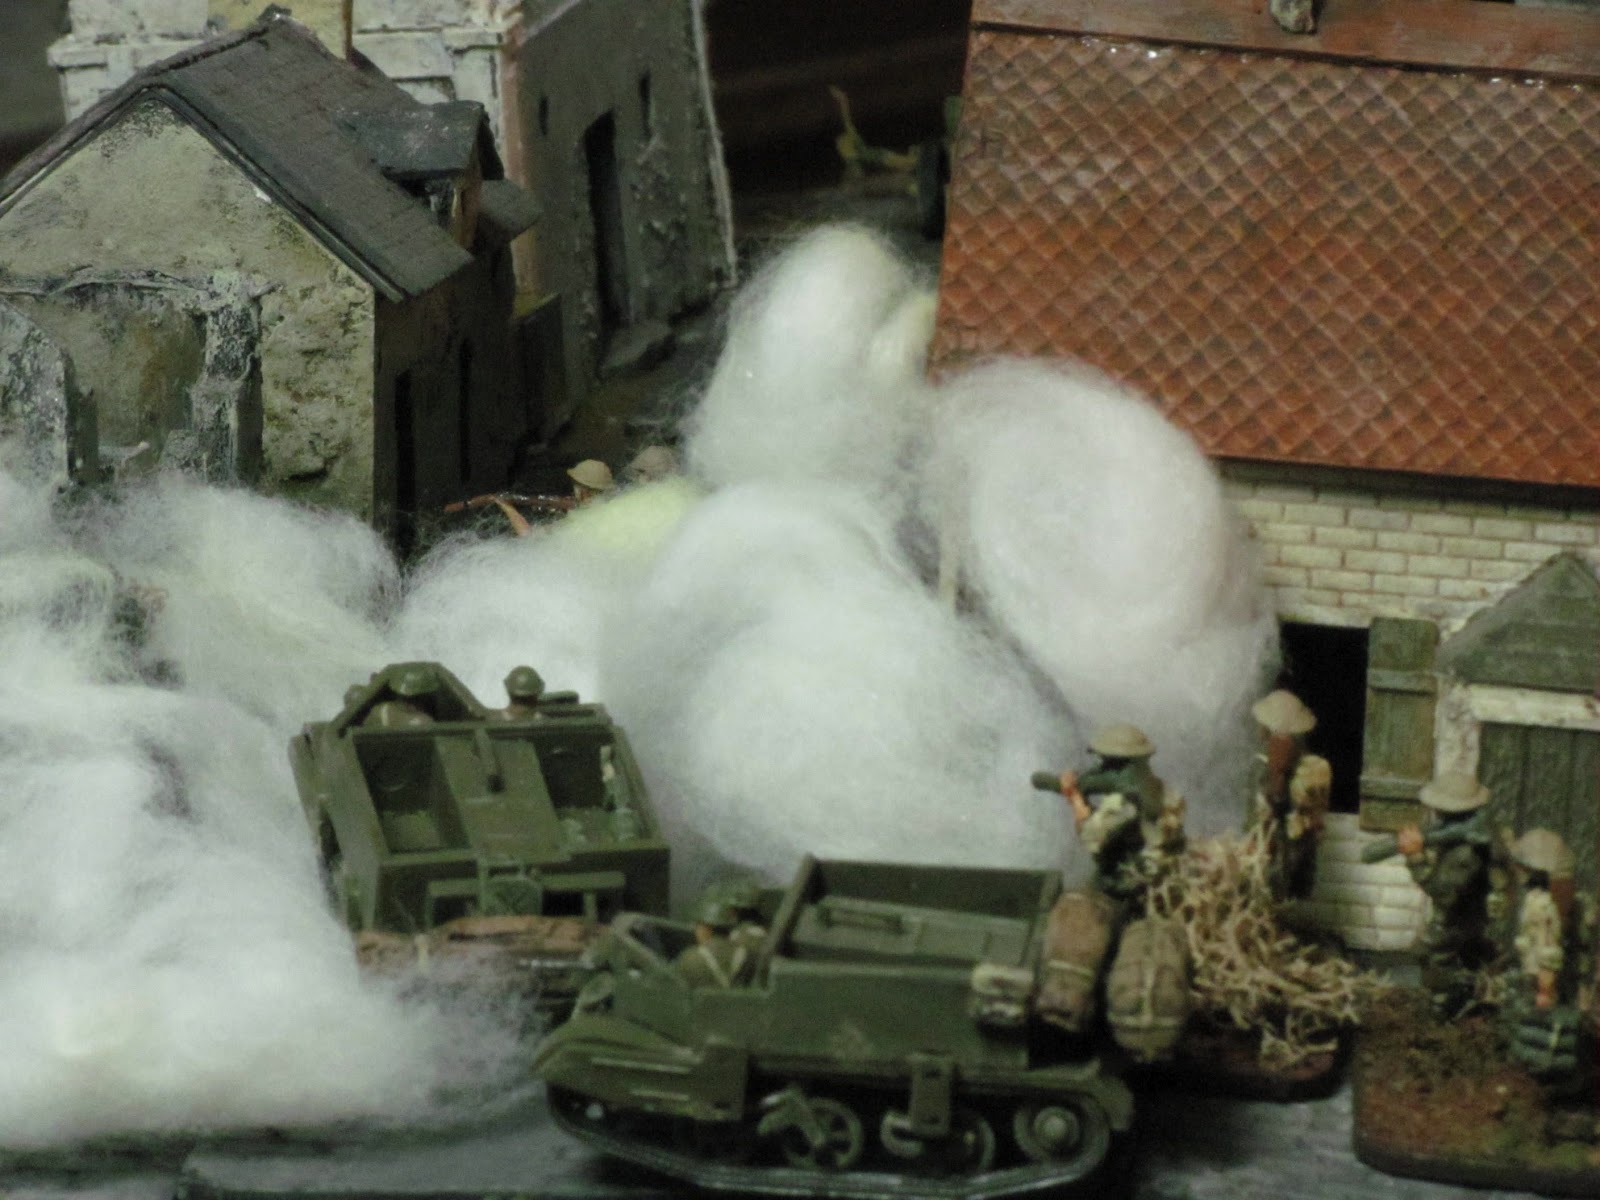
20. Carrier platoon pushes in from the south
Under cover of smoke the carrier platoon pushes into Grammichele from the south, clearing out the few remaining German defenders in this part of town before pushing towards the closest exits.

21. In the streets of Grammichele
22. Pz. III pulls back
On the north edge of town a Pz. III beats off an assault and joins the withdrawal.

23. Final withdrawal
With the remaining guns and infantry safely withdrawn, the three surviving German panzers attempt to withdraw. But the Canadian infantry have infiltrated the town from all directions and move to cut off their retreat.

24. Too late for Pz. III
A second German tank falls to close assault just as it moves to exit the battle, with elements of the carrier platoon supported by tanks seizing two of the crucial exit points. After attempting to fight through the troops blocking their way the last two German tanks also succumb to close assault.

Post Mortem
Although the Germans managed to score a slim majority in victory point allocation, they needed to outscore their opponent 2 to 1. So with that and all four board exits occupied by the Canadians by the end of Turn 7, precipitating an early end to the game, the Canadians score a major victory.
Interestingly enough, historically the German rearguard action at Grammichele, which under the circumstances (catching the Canadians completely flat-footed and strung across the plain in column formation) should have allowed them an easy victory and unhindered withdrawal, instead turned into a Canadian success. In the actual action the Canadians went over to the attack immediately and with such force that the Germans had to hastily abandon the town, leaving behind a number of knocked out tanks and captured transport.
In this game the Canadians also pushed home the attack with a lot of gusto, forcing the Germans to ward off the enemy from all directions with meagre resources. In the early stages, when the Canadians were scrambling to close with the enemy, a series of pathetic die rolls on the part of the German 88's and tanks meant that the Canadians were able to close relatively unscathed. But even still, when the Germans began their withdrawal, they had exacted enough damage to allow them to withdraw with hope of still scoring a major victory. But as noted, the Canadian attack outstripped the German withdrawal and took advantage of the early departure of the German infantry to press home close assaults on the armour in the close confines of the town streets. Another lesson learned the hard way!
Excellent writeup and terrain! It kept me engrossed the entire post.
ReplyDelete